VMWare Workstation Player/Pro Installation Guide
This Guide describes how the Allegro Network Multimeter Virtual Edition can be set up with a VMWare Workstation. The Allegro Virtual Edition is designed for 2 use cases. It can analyze pcap captures or packet ring buffers of unlimited size for forensic investigation or it can analyze live traffic from virtual machines by a virtual Mirror Port or ERSPAN.
General
DISCLAIMER
Be aware that an activated ring buffer can degrade the I/O performance for all VMs. It is recommended to use one or more dedicated HDDs or SSDs for the ring buffer to prevent side effects to other VMs.
System requirements
This Guide requires a VMWare Workstation Player or Pro. 15.5.2 or newer. Note that the non-commercial version (VMWare Workstation Player) also works with the Allegro Virtual Edition if you are testing it for personal use only. Please review the License restrictions of the VMWare Workstation Player.
The system requirement of the virtual machine is:
- x86 64-Bit Intel/AMD CPU with SSE4.2 support (since 2011)
- 4 CPU-Cores
- at least 2GB RAM for the In-Memory-DB, the larger the better
- 20GB free disk space
Allegro Virtual Edition installation image
Contact Allegro or your reseller to download the current Allegro Virtual Edition installation zip archive.
Installation
Zip file extraction
Extract the zip archive. It should contain the 3 files “allegro-multimeter.ovf”, “allegro-multimeter.vmdk” and “allegro-multimeter-virtualbox.ovf”.
Allegro Virtual Edition deployment to VMWare Workstation
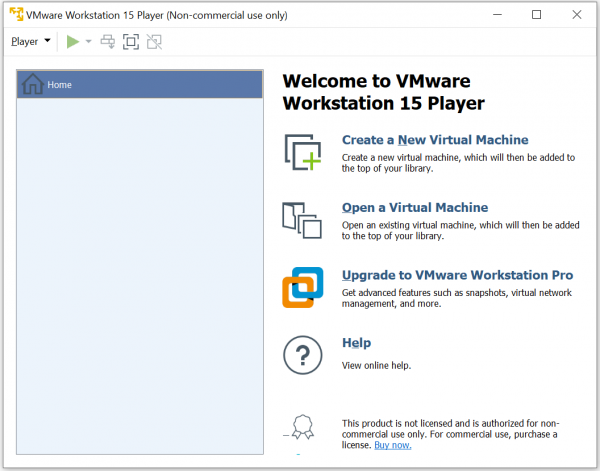
Download, install and Open VMWare Workstation (see https://www.vmware.com/):
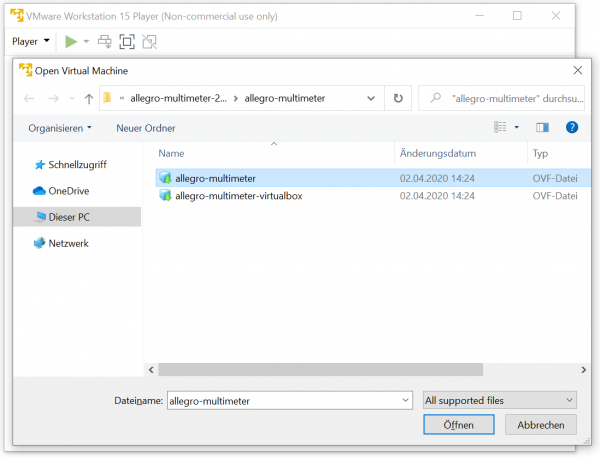
Import the VM with “Open Virtual Machine” and select the "allegro-multimeter.ovf" file from the extracted zip archive.
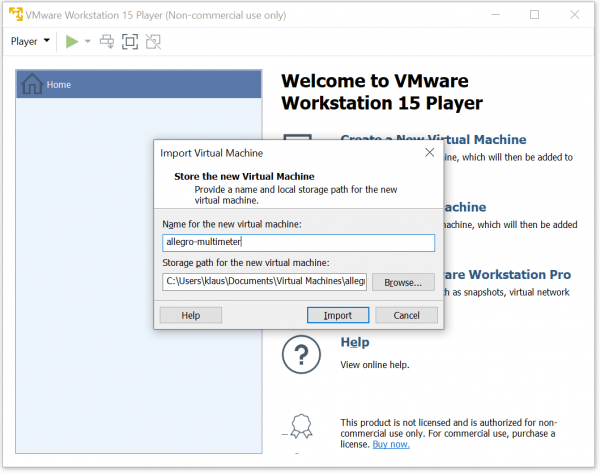
Next, specify the location on your disk, set a name and import the Allegro Virtual Edition.
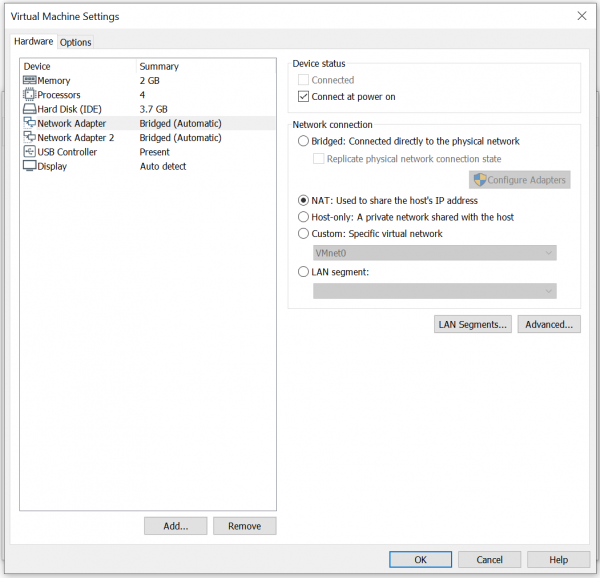
The Allegro Virtual Edition will be imported. Once this is complete, you can edit the settings of the Allegro. Note that the first interface is used for Management access and requires a network with a DHCP server. The second network port is used as a data plane. The Allegro Virtual Edition analyzes all traffic on this network port. By default, both ports are bridged to your local network. You can change the first port to NAT to allow only access from your local PC. You can also change the settings later at any time.
Install USB License dongle
If the Allegro Virtual Edition was shipped with an USB License dongle, plug the dongle into an unused USB port of the VMWare host. The dongle must be connected to the Allegro Virtual Edition. When powered off, edit the settings of the Allegro Virtual Edition and add the USB dongle to it. Select a “Feitian HID Dongle” or similar.
Initial startup
Follow the VMWare ESXI Installation Guide#Initial startup. The startup is identical for ESXI and Workstations.
Mirroring virtual interface
The Allegro Virtual Edition has by default 2 network interfaces. The first port is used for Management, the second is used as capture port. The Allegro Virtual Edition will analyze all traffic received by this network port.
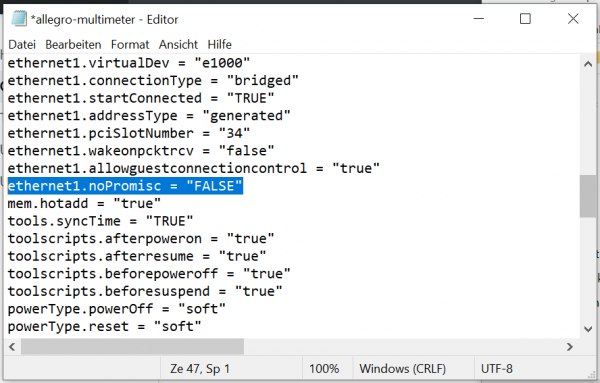
Enable the promiscuous mode for the second port if you would like to analyze all incoming packets. As of now, this configuration cannot be done in the VMWare Workstation GUI and it does not work for all physical interfaces.
Navigate to your VMWare directory (by default: Documents\Virtual Machines) and edit the vmx file. There add the line: "ethernet1.noPromisc = "FALSE"
Packet ring buffer and pcap storage
You can add one or multiple virtual disks to the Allegro Virtual Edition.
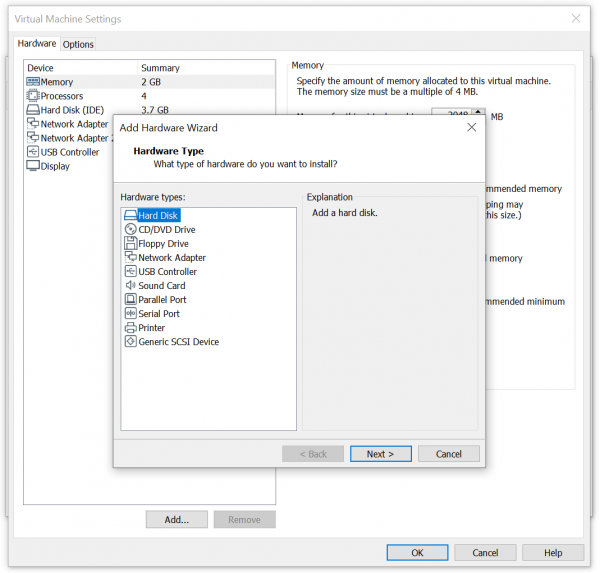
When powered off, edit the settings of the Allegro Virtual Edition in the VMWare Workstation and add click the "Add..." Button.
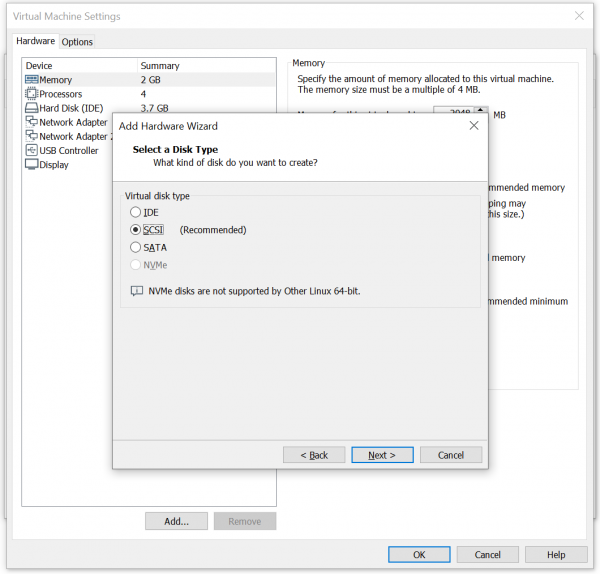
Then use the default value and add the disk as a SCSI device.
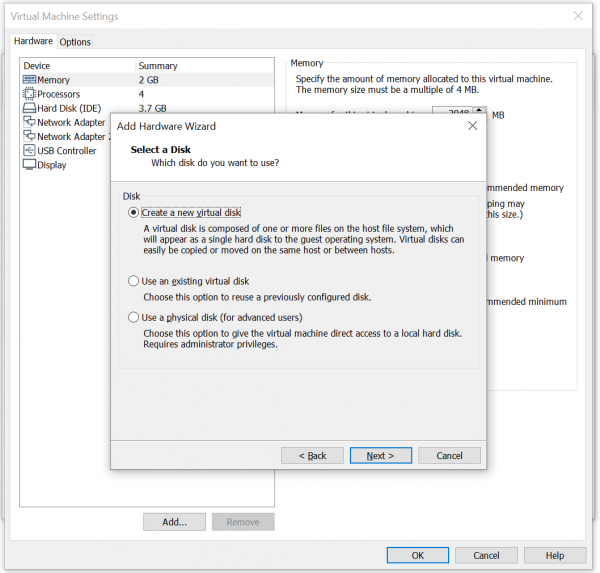
Next, select new disk or use an existing one.
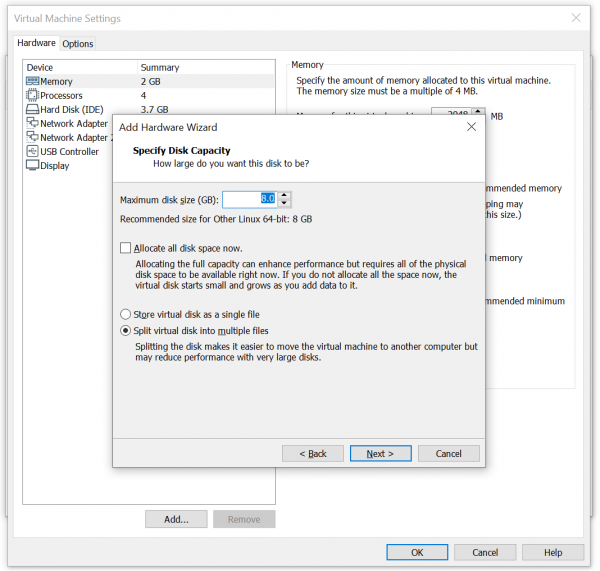
If you selected a new disk, set the size in the next dialogue.
Next, review the configuration and complete it. Once it is done, start the Allegro Virtual Edition. If correctly configured, you can enable the packet ring buffer as described in Ring Buffer Configuration Guide. Note that a real-time capture of packets require high write rates to your storage device. We recommend you use dedicated disks for the ring buffer to avoid performance issues on other virtual machines.
Encapsulated remote mirroring (L3) source
The Allegro Virtual Edition supports the VMware Encapsulated remote mirroring (L3) source with the ERSPAN Mode. You can set up an IP address on the capture port and send encapsulated packets to the Allegro. See the VMWare VSphere documentation center for Encapsulated remote mirroring (L3) source.
