Hyper-V Installation
This guide describes how the Allegro Network Multimeter Virtual Edition can be set up with Hyper-V under Windows 11.
The Allegro Virtual Edition is designed for 2 use cases.
- It can analyze PCAP captures or packet ring buffers of unlimited size for forensic investigation and/or
- it can analyze live traffic from virtual machines by a virtual Mirror Port or ERSPAN.
DISCLAIMER
Section titled “DISCLAIMER”Packet analysis is resource intensive. Running the Allegro Packets VM on your own hardware and its performance outcome is warranted “as is”. Our support will be limited.
Be aware that an activated ring buffer can (heavily) degrade the I/O performance for all VMs. It is strongly recommended to use one or more dedicated HDDs or SSDs for the ring buffer to prevent side effects on other VMs.
System requirements
Section titled “System requirements”This guide has been tested with Windows 11 Enterprise.
The system requirement of the virtual machine is:
- x86 64-Bit Intel/AMD CPU with SSE4.2 support (since 2011)
- 4 CPU-Cores
- at least 2 GB RAM for the In-Memory-DB, the larger the better
- 20 GB free disk space
Virtual Machine image
Section titled “Virtual Machine image”Please contact Allegro Packets or your reseller to download the current Allegro Virtual Edition installation Zip archive.
Installation
Section titled “Installation”Zip file extraction
Section titled “Zip file extraction”Please extract the Zip archive. It should contain a single file allegro-image-X.X.X.vhdx where X.X.X is the version number of the release.
Creating a Hyper-V virtual machine in the Hyper-V Manager
Section titled “Creating a Hyper-V virtual machine in the Hyper-V Manager”Open the Hyper-V Manager
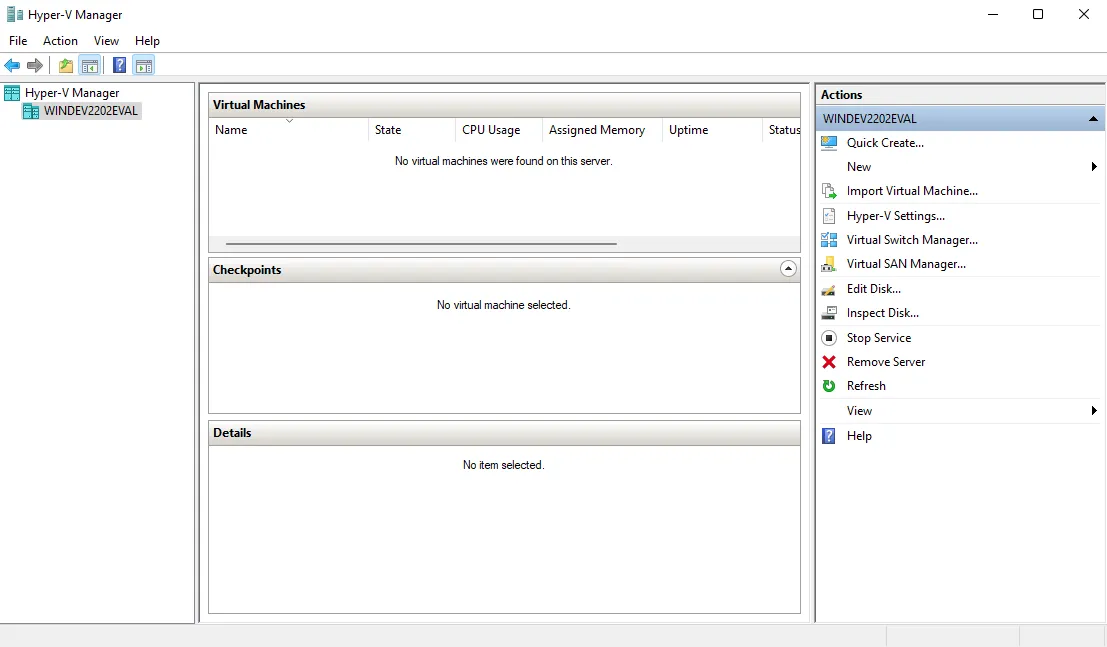
Create a new virtual machine under Action → New → Virtual Machine ….
Follow the wizard by first giving a name to the virtual machine.
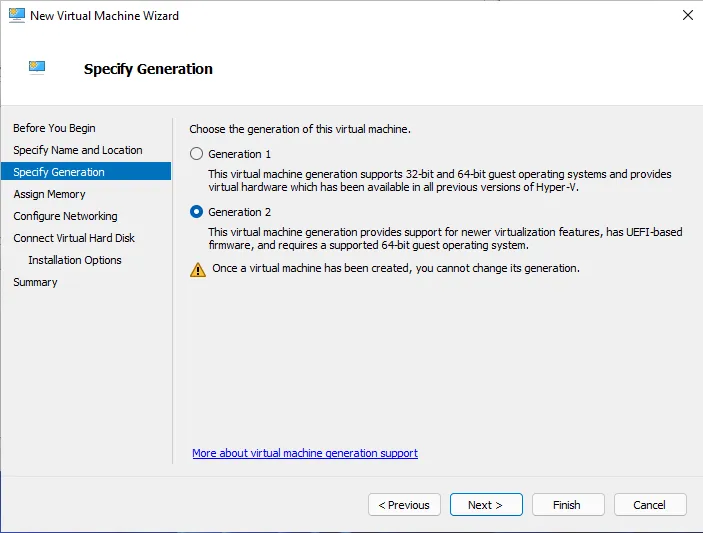
When asked to Specify Generation choose Generation 2.
On the Assign Memory page set the startup memory to at least 2048 MB.
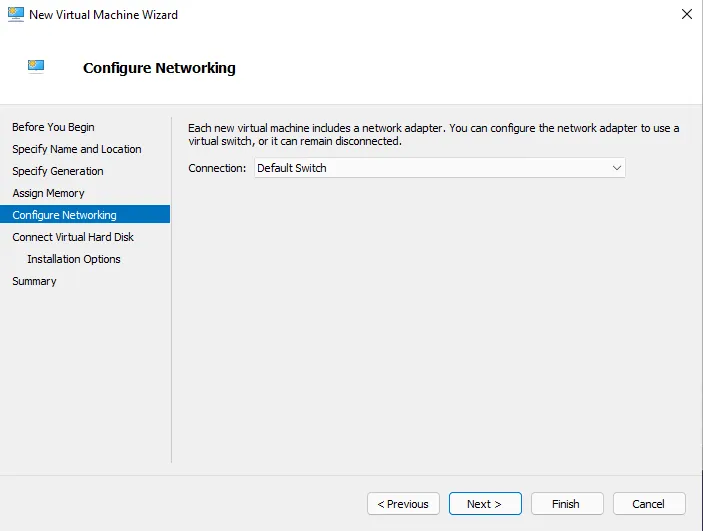
On the Configure Networking page select the network connection that you want the Allegro Virtual Edition management interface to be connected to.
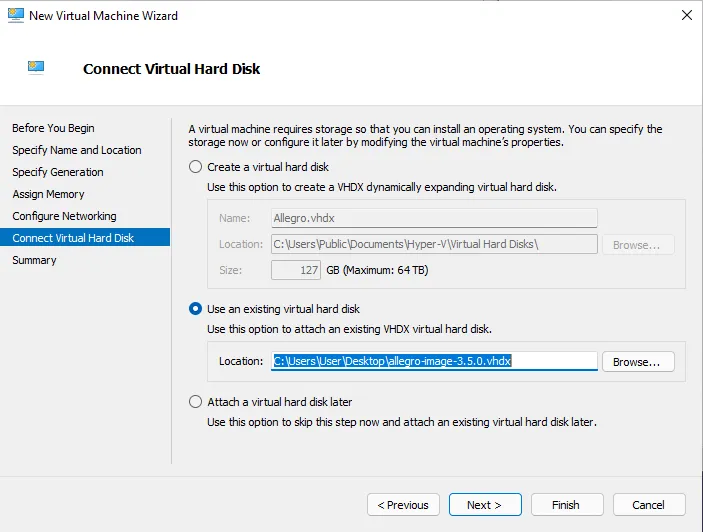
On the Connect Virtual Hard Disk page select the option Use an existing virtual hard disk and select the allegro-image-X.X.X.vhdx that was extracted from the Zip archive.
Finish the wizard to create the virtual machine.
Add an additional network interface to the virtual machine, disable “Secure boot” and set the processor count
Section titled “Add an additional network interface to the virtual machine, disable “Secure boot” and set the processor count”Edit the settings for the virtual machine under Action → Settings….
With the Add hardware item select Network Adapter and click Add.
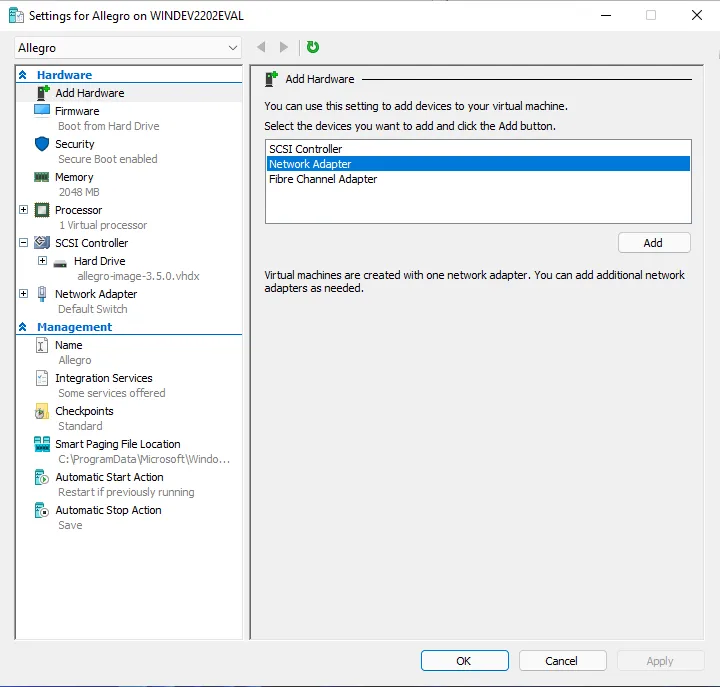
Choose the virtual switch that you want the Allegro Virtual Edition monitoring interface to be connected to and click Apply.
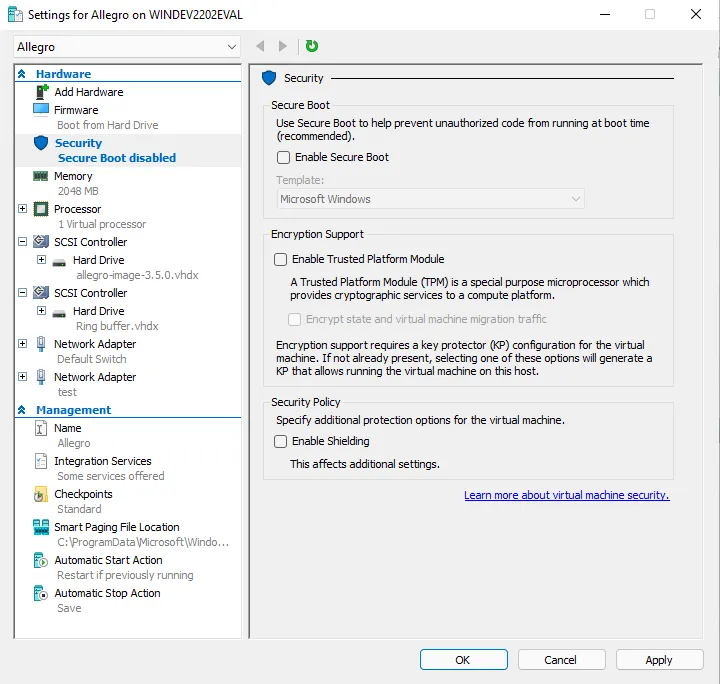
Now select the Security item and unselect the Enable Secure Boot checkbox as this is not supported by the Allegro Virtual Edition. Click on Apply to save the setting.
Now select the Processor item and change the Number of virtual processors to at least 4. Click on Apply to save the settings.

Packet ring buffer and PCAP storage
Section titled “Packet ring buffer and PCAP storage”For the ring buffer to work, you need to add an additional virtual disk (or more) to the Allegro Virtual Edition.
With the Add hardware item selected again this time choose SCSI Controller and click Add.
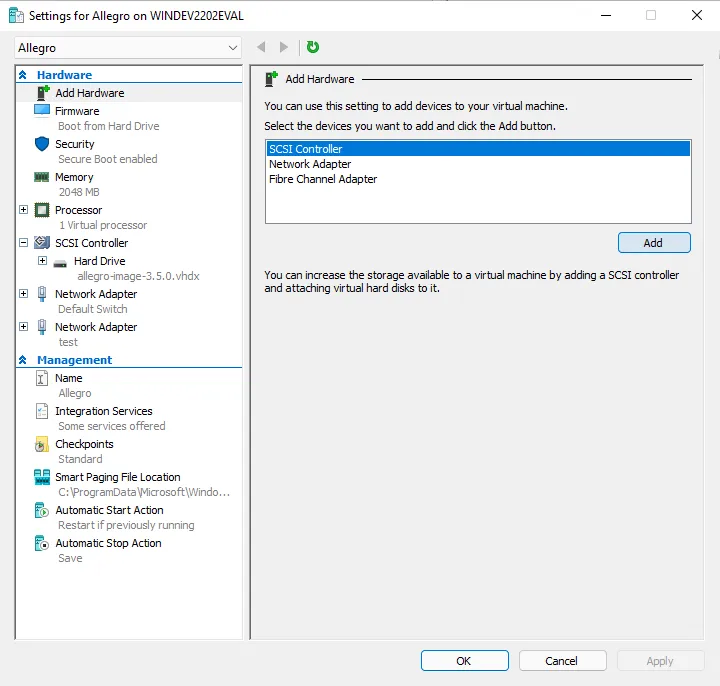
Leave the default type Hard drive and click Add.
The controller location 0 will be in use so choose 1.
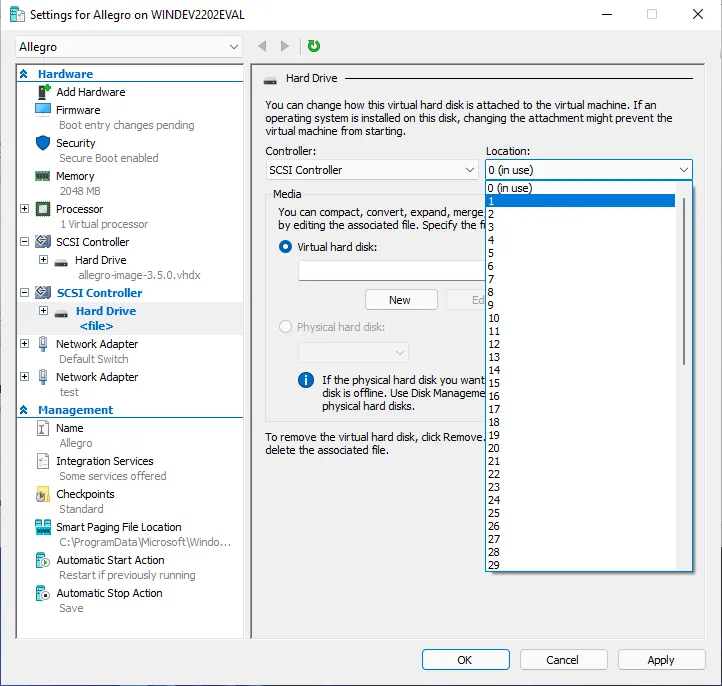
In the Media section with Virtual hard disk selected click on New.
This will open a wizard and on the Choose Disk Type page select Fixed size for best performance.
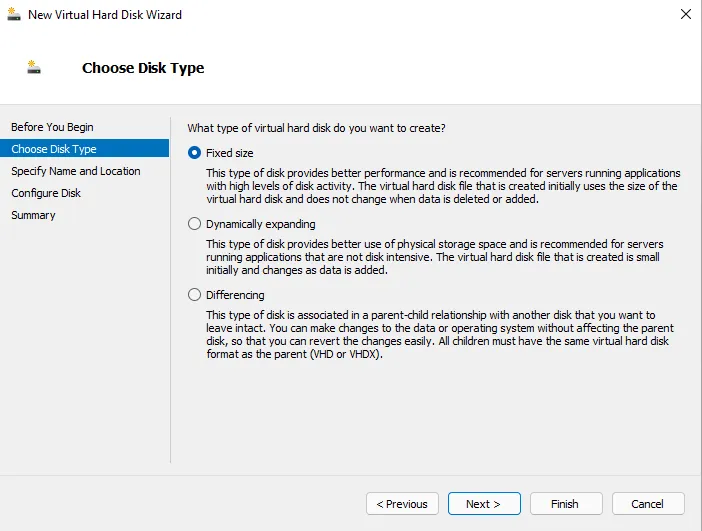
Follow the wizard to create a blank virtual hard disk with the desired size for the packet ring buffer and after the wizard is finished click on Apply to save the settings.
When done, power on the Allegro VM and go to menu Generic → Storage, to check if the Allegro Network Multimeter has detected a storage device.
Here an example of 1 attached/configured disk:
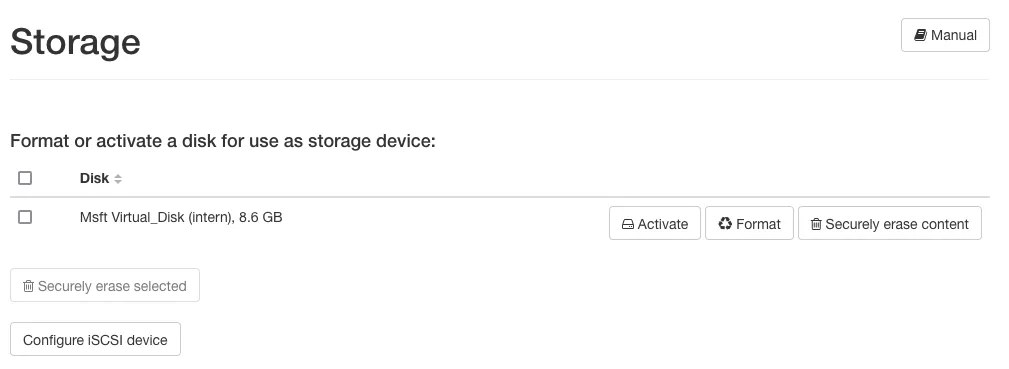
Here, on the Generic → Storage page, you can prepare the disks to be used by the Allegro by clicking the Format button. This will erase all content on the disk and create the filesystem for the Allegro. You can also activate and deactivate the storage device for PCAP files here.
For more information on the ring buffer, please review the corresponding page in the Ring Buffer Configuration Guide.
Disclaimer: Be aware that an activated ring buffer can (heavily) degrade the I/O performance for all VMs. It is strongly recommended to use one or more dedicated HDDs or SSDs for the ring buffer, to prevent side effects on other VMs.
Initial startup
Section titled “Initial startup”Powering on
Section titled “Powering on”Power on the virtual machine. The Allegro Virtual Edition will boot, prepare the installation and reboot once. The VM will seek for an IP address via DHCP on the management port. Check the screen output for an assigned IP address.
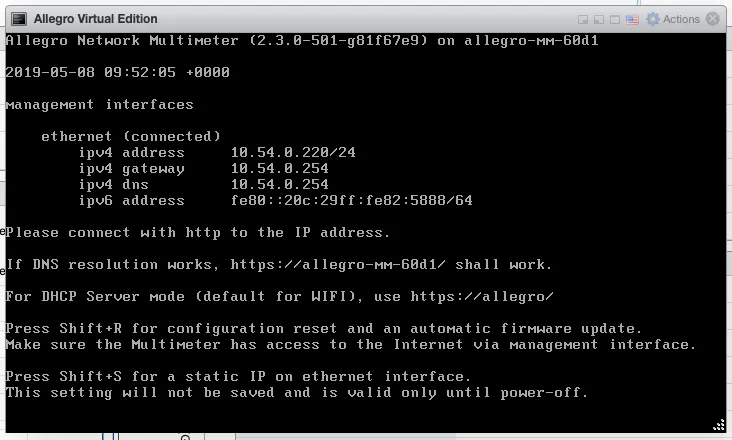
You can now connect to the IP address with your browser, in our case https://10.54.0.220/. The browser will show a certificate warning. Accept it to access the login screen.
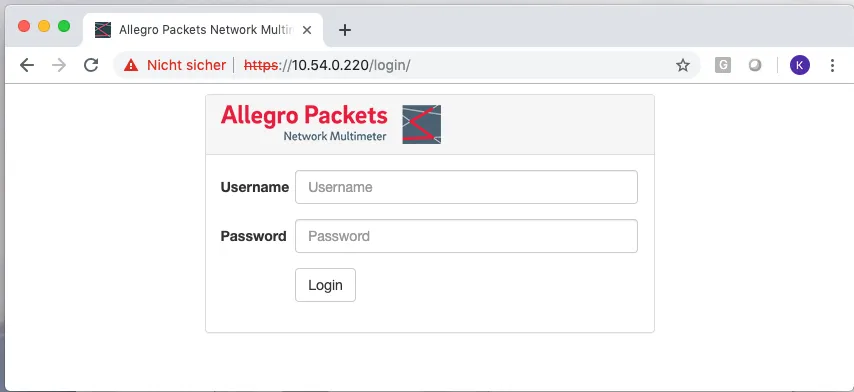
Please use the user name admin and password allegro for login.
License
Section titled “License”
Navigate to Settings → License upload and send the system serial number to testlicense@allegro-packets.com. Allegro Packets will issue a test License for you that can be installed by the Upload new License button. Once the test License is applied, it will show you the License details similar to this output:
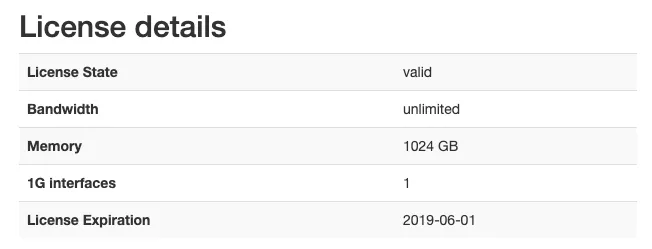
The Allegro Virtual Edition is now running and analyzes all packets on the capture port.
Encapsulated remote mirroring (L3) source
Section titled “Encapsulated remote mirroring (L3) source”The Allegro Virtual Edition supports the VMware Encapsulated remote mirroring (L3) source with the ERSPAN Mode. You can set up an IP address on the capture port and send encapsulated packets to the Allegro.